Requests
The Requests screen is used by Doctors to create Pathology, Radiology or other types of Test Requests for a patient. The Requests screen can be accessed from either the Clinical Summary tab, or from the Clinical Notes / General Consultations Screen by clicking the Request button.
The Requests window will open:
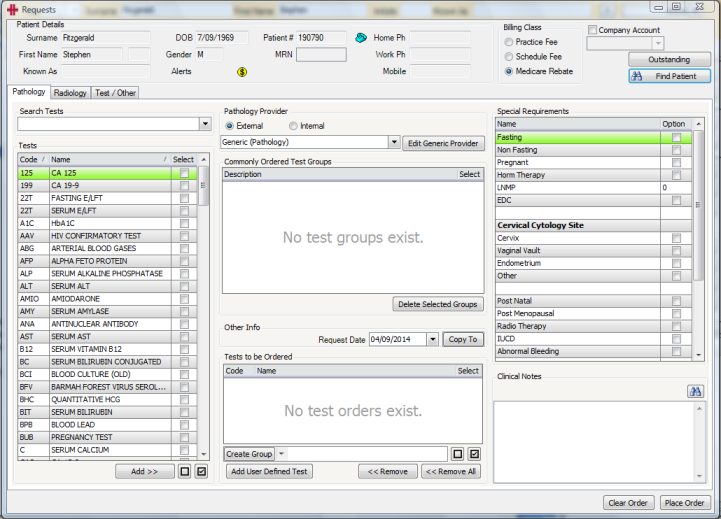
The patient’s demographic details are displayed at the top of the screen. Below this section there are 3 tabs for Pathology, Radiology and Test/Other types of requests.
To create an Order, search for and select the tests required by double clicking each test or by ticking the tests and clicking the Add >> button. The tests will display in the Tests to be Ordered section:
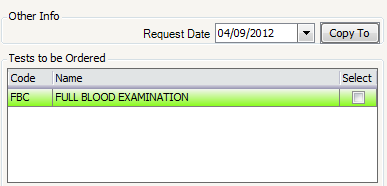
The Request Date is set to today’s date by default but can be changed if required.
Clinical notes can also be entered if required.
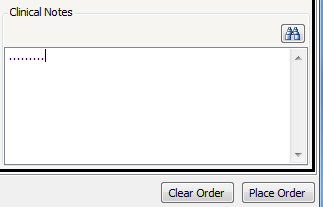
When ready to create the test request, click the Place Order button.
The Clear Order button clears the screen, ready to start afresh. Any tests or test groups that have been added to the Tests to be Ordered section, will be removed.
Pathology Requests
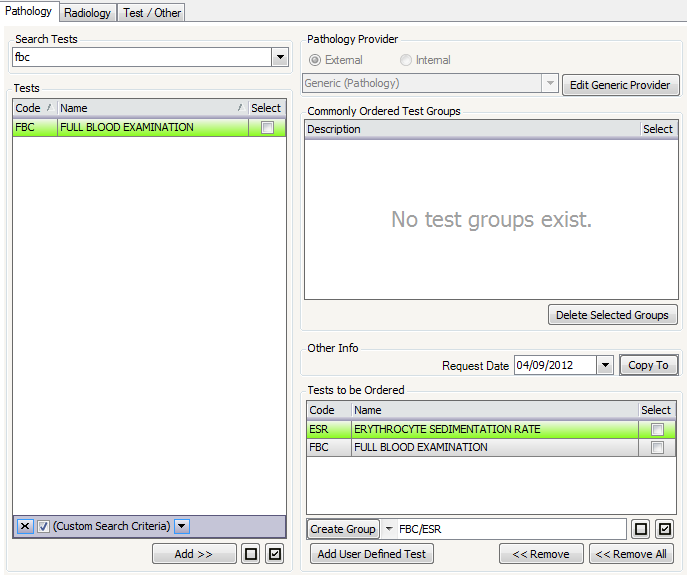
The Pathology tab displays the list of pathology tests and test codes from your pathology providers. There are numerous test names for each code and different pathology providers can have different test names.
To search for a test click in the Search Tests field and enter the test code or part of the test name. When searching for a test by a name that is from the pathology company’s recognised list of test names, the test shows in the list on screen e.g. searching for ESR displays the Erythrocyte Sedimentation Rate test. Alternatively searching for ANF brings up the ANA test.
Commonly Ordered Test Groups
So that tests do not need to be searched for each time they are required, Commonly Ordered Test Groups can easily be setup by completing the following:
-
Add all the tests that you’d like in the group to the “Tests to be Ordered” section
-
Name the group that you’d like to create in the text box alongside the “Create Group” button down the bottom
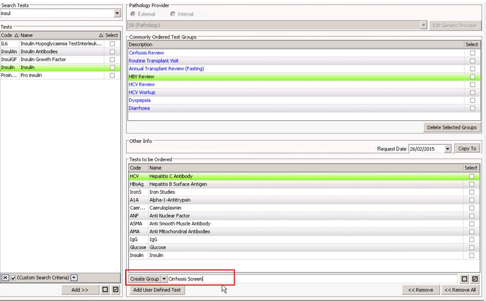
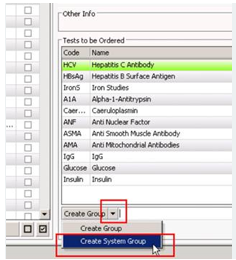
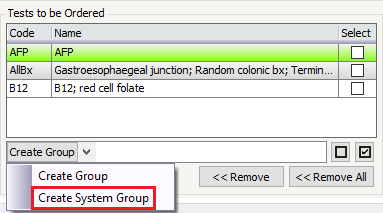
- To create a group just for yourself, press the “Create Group” button. To create a group for All users, select “Create System Group”.
- The new Commonly Ordered Test Group will now be created with the name you’ve specified.
To add or remove items from an existing group you will need to delete the group and create a new one, as follows:
-
Double click the group you wish to modify to load the group in to the Tests to be Ordered section
-
Add or remove tests, as required
-
Then type in the name for the updated group, you can use the same name as the system will not prevent this
-
Delete the unwanted group
! image010.jpg (image9.jpeg)
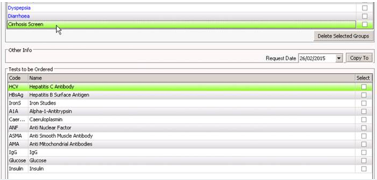
To add a Commonly Ordered Test Group, to the Tests to be Ordered section, double click the group and it will appear below.
User Defined Tests can also be created by clicking the Add User Defined Test button. These tests can be added to Commonly Ordered Test Groups.
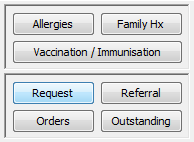
On any patient, click the Request button
View Outstanding Requests
First open the “Request” system:
! Table Description automatically generated (image11.png)
The following screen will open.
! Graphical user interface, application Description automatically generated (image12.png)
Click the Outstanding button to see outstanding requests.
Initially this will be for the current patient.
! Graphical user interface, application, Word Description automatically generated (image13.png)
When you click the Doctor button you can see ‘All Doctors’ requests or just your own, based on the dropdown.
In this mode it is ALL patients.
! Graphical user interface, application, table, Excel Description automatically generated (image14.png)