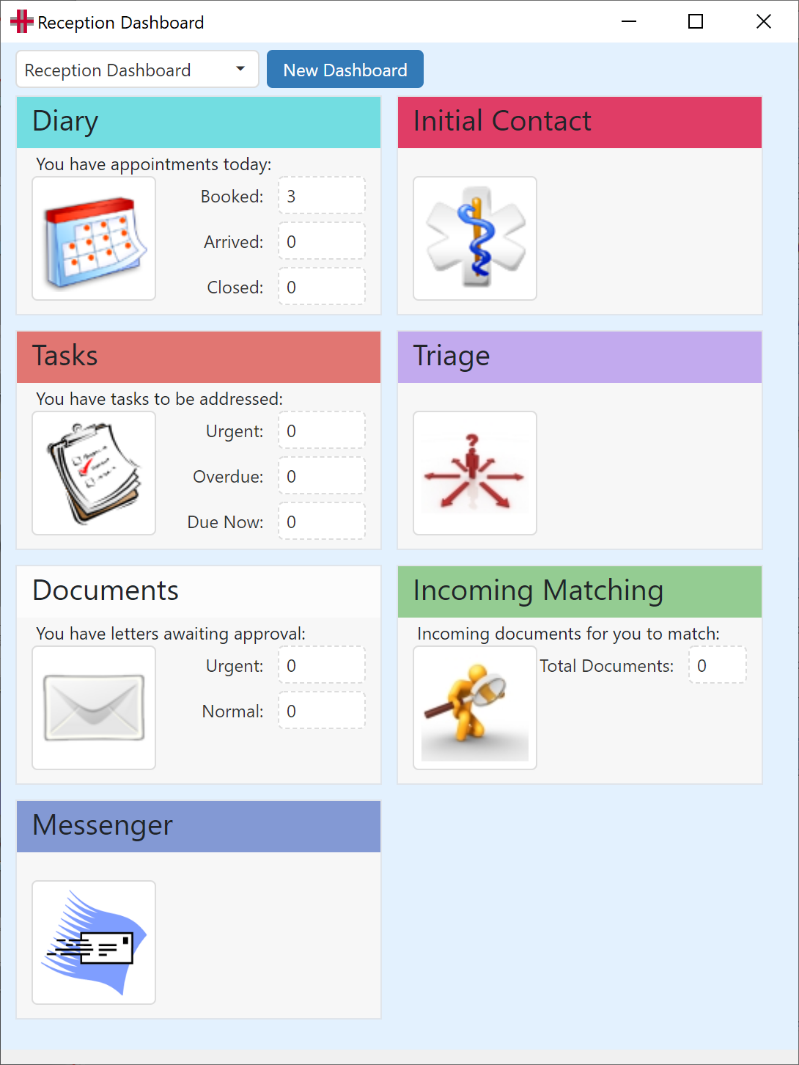
Tasks
Task Lists
Each user has a Task List
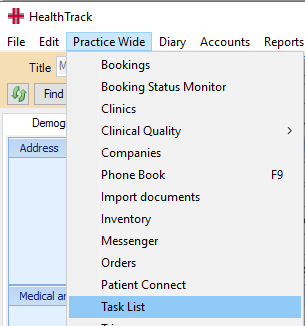
The Task List can be opened from the Practice Wide menu.
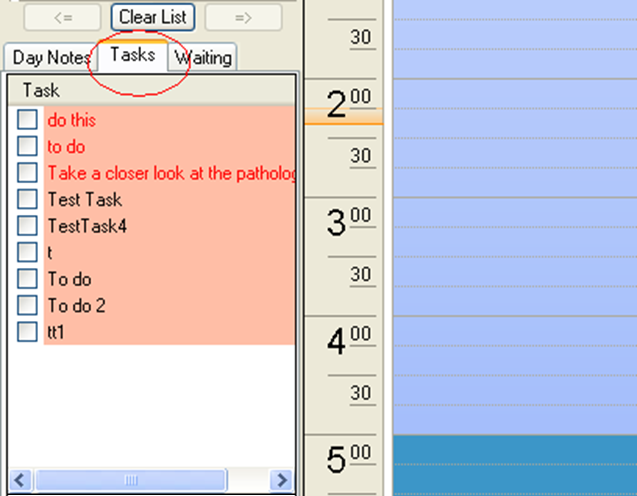
Your tasks are also available for viewing in the Diary, when the Diary is open clicking on the Task tab will show all the Tasks assigned to you.
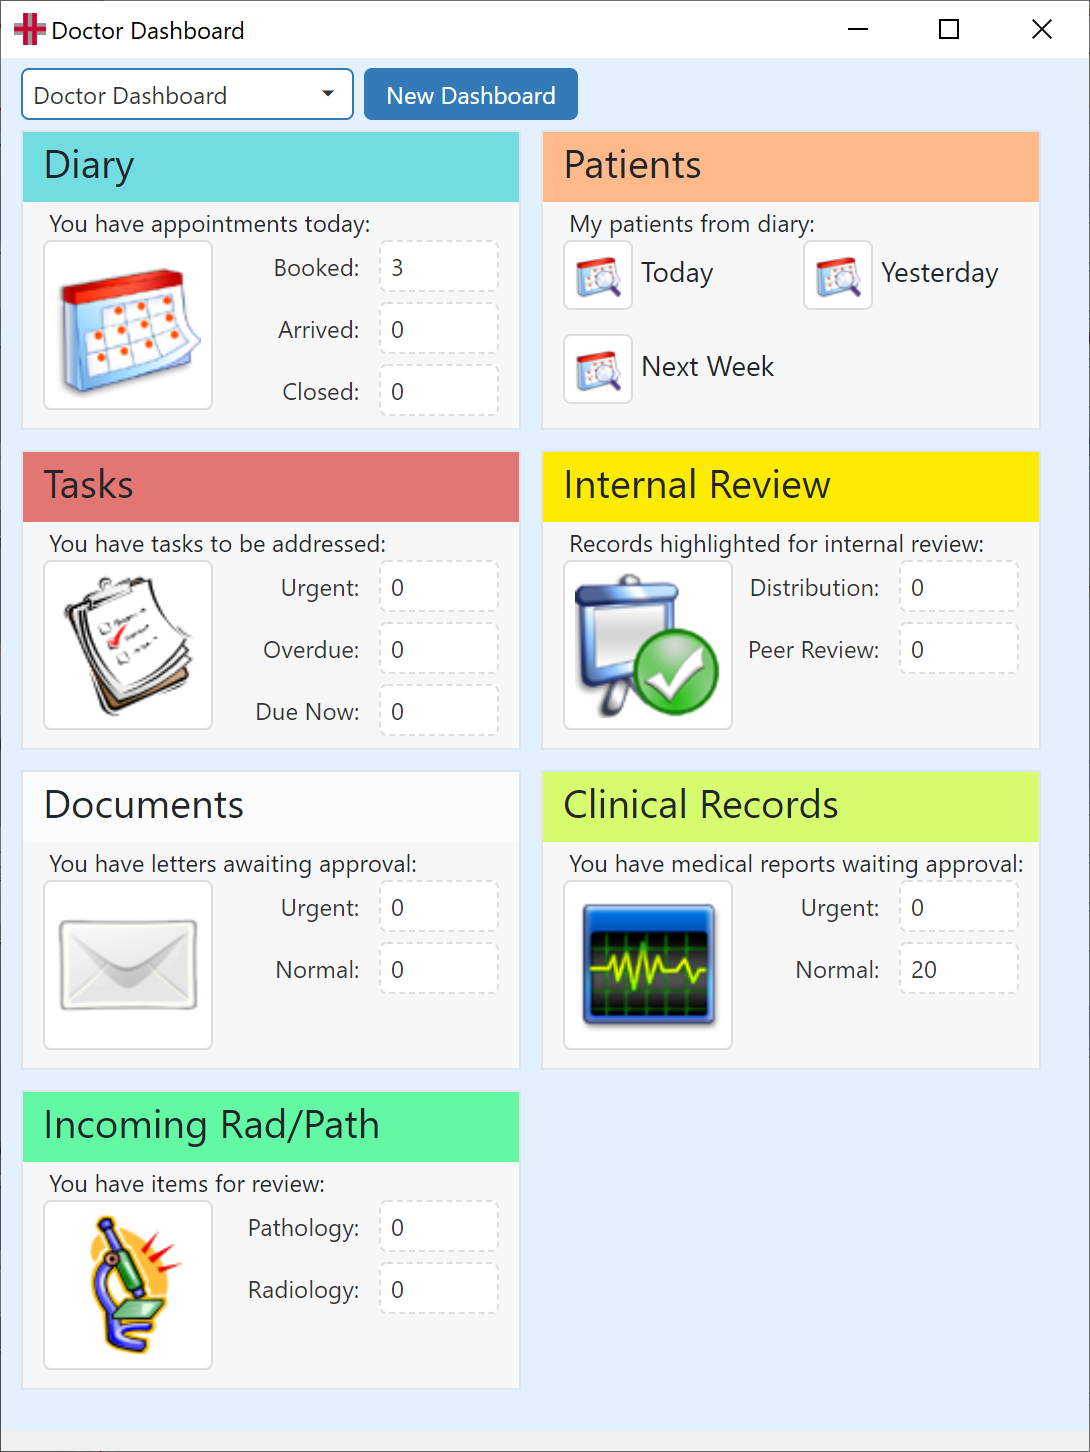
Tasks can also be viewed from “My Dashboard”.
|
|
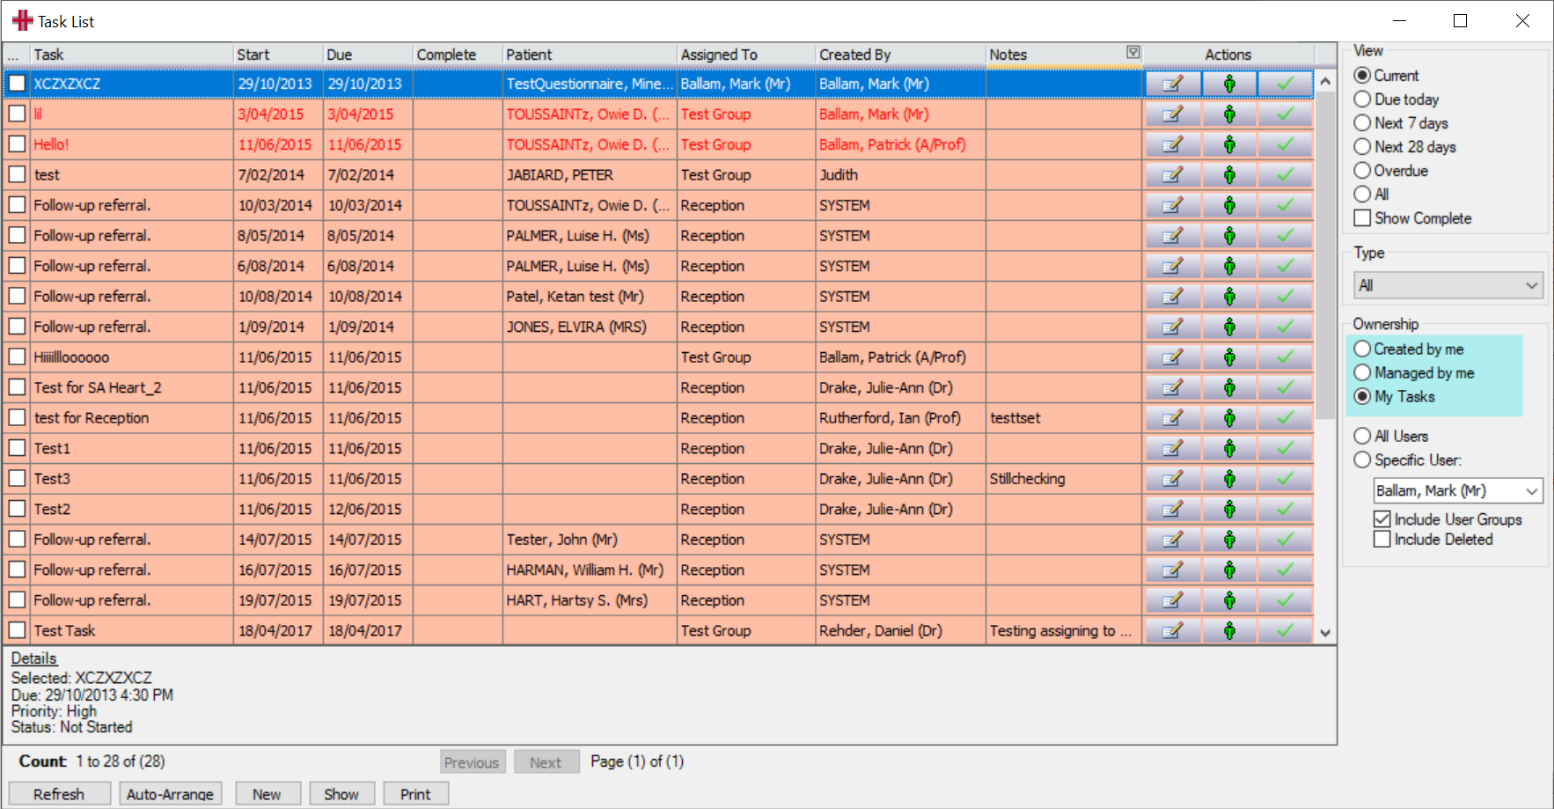
An example of a user’s Task List follows. This list view can be changed to show tasks created by the user, or tasks managed by the user or assigned to the user by clicking in the Ownership box. This will refresh the list to show only those tasks created or managed by you. This is useful to check on the progress of a task you have assigned to another user.
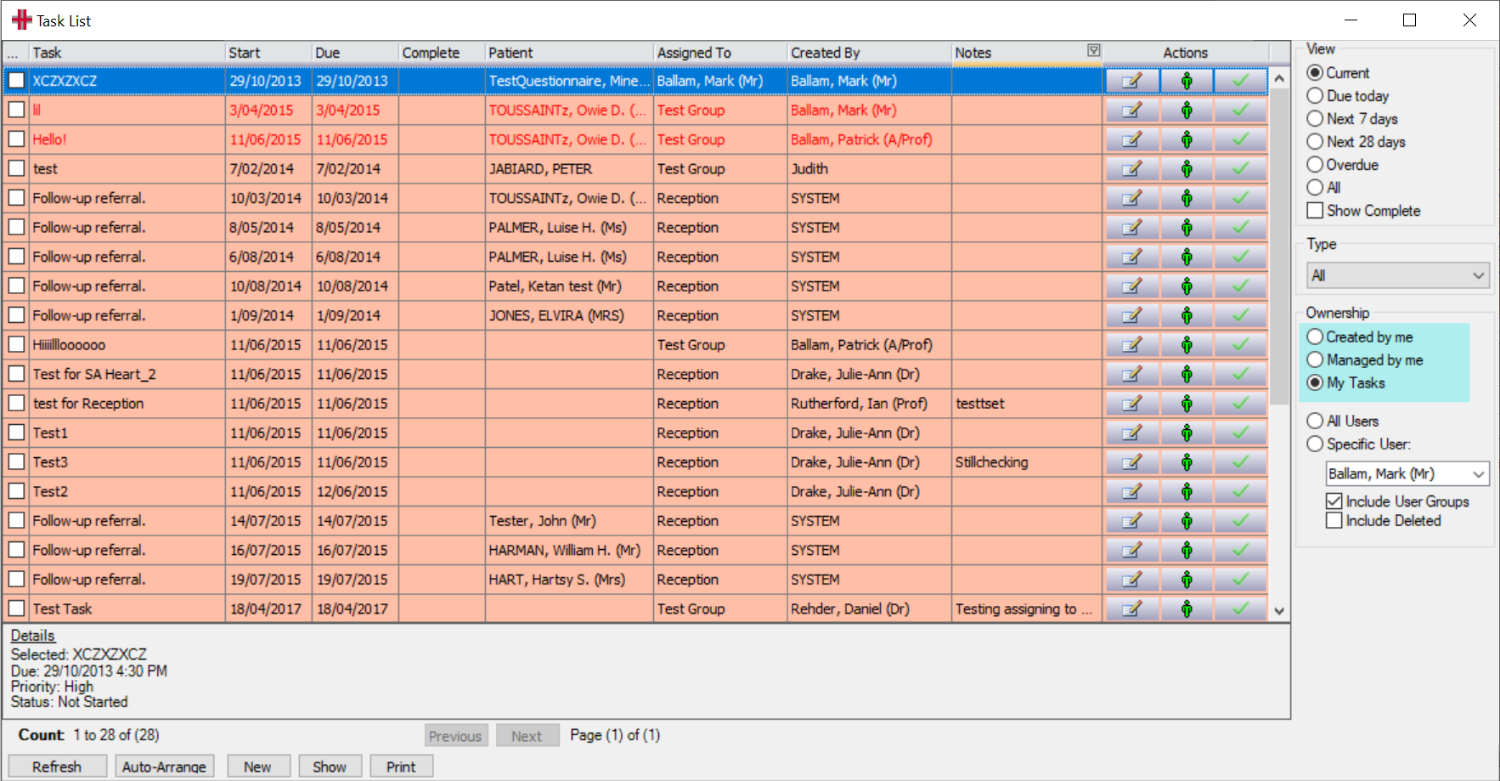
Managers with the security permission ‘RedefineAnyTask’, can view tasks for a specific user or group or for all users.
To open a task in this list, double click on the task.
The View box in the top right of the screen allows the tasks to be viewed in order of when the task is due, or show all tasks including completed tasks, when the Show Complete box is ticked.
Tasks can be created from this screen by pressing New. This will bring up the New Task screen.
How to complete a task
The Comments sections is used in conjunction with the buttons in box E of picture 1.2. The assignee can record the actions completed for the task.
Each action should be time stamped. Pressing
 enters the current date and time.
When working on a task it is important to update the task status to In
Progress. When a task is successful, pressing
 will time stamp the action as well
as marking the task as successful. While pressing
will time stamp the action as well
as marking the task as successful. While pressing
 will do the same thing, but mark
the task as unsuccessful.
will do the same thing, but mark
the task as unsuccessful.
Tasks can be completed quickly in the Task List or Patient Management screen by ticking the checkbox next to the task.
The user or group who changed the Task Status is recorded. Setting a Task Status to Complete removes the task off the assigned user or group’s task list. It also hides the task in the patient’s Patient Management screen and will only show if ‘Show Complete’ tasks is ticked.
How to create a task
The Task function can provide valuable documentation for any unit of work required for patient care, quality management or medico-legal records. Every HealthTrack user can create tasks and have tasks assigned to them. Tasks are never deleted which creates a permanent record of the task.
Tasks can be associated with a patient, booking, referral, company, or prescription. Tasks can also be a mode of communication between users for reminders or follow ups about items of work for the practice.
There are many different ways to create and view tasks such as from the patient’s Demographic and Patient Management tabs, the Booking Form, and for Doctors in the Clinical Summary tab and the Incoming Approval screen when reviewing a test result or document.
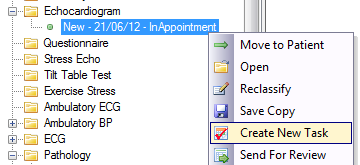
To create a task when viewing documents or clinical records, right click on the document name or clinical record entry and select ‘Create New Task’.
This will open the Edit Task screen for input of the Task information, as follows:
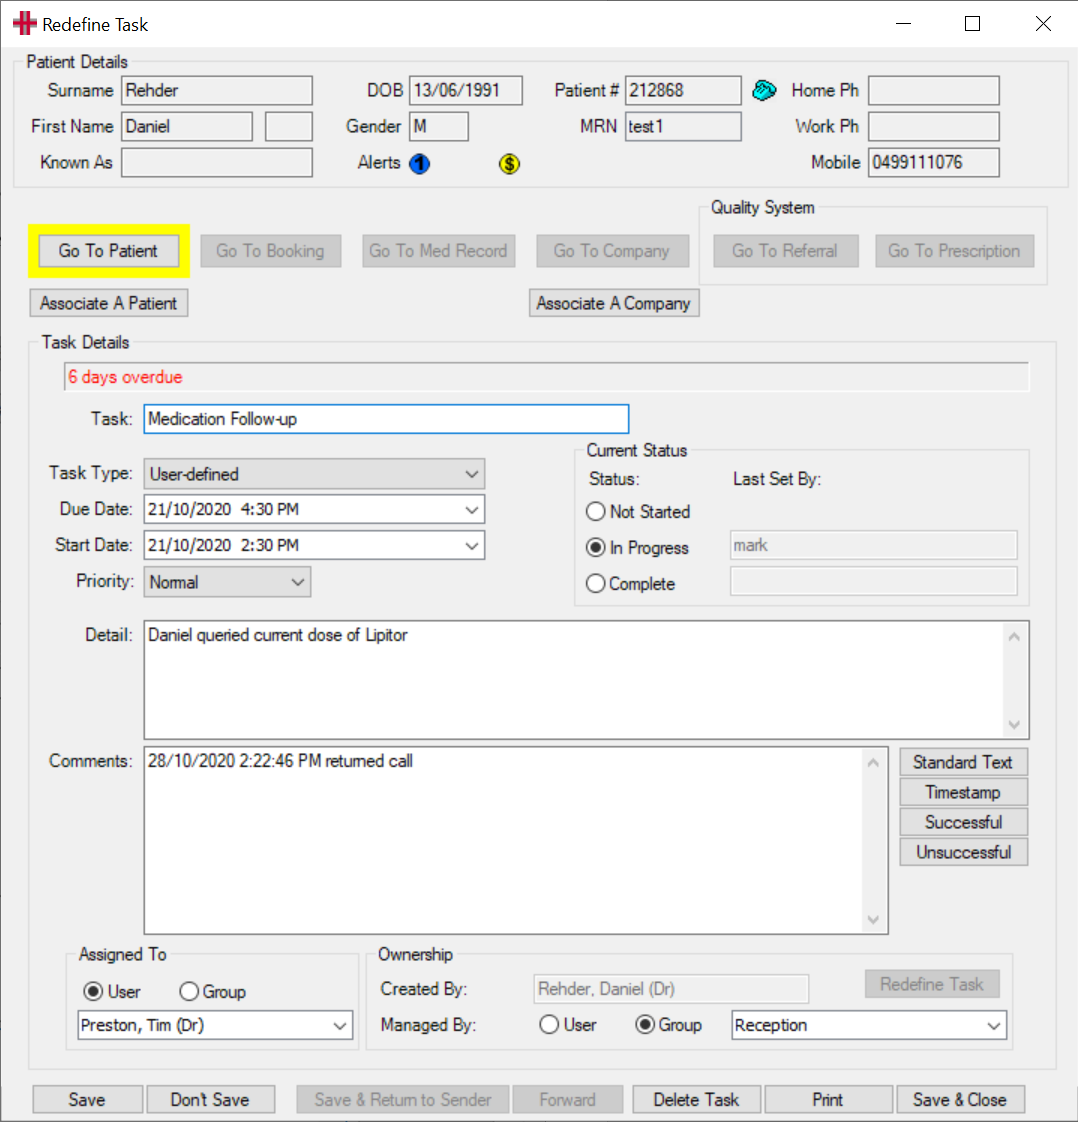
- Complete a task name with a brief description which will appear on the Task List screen.
The user can create a Task Type, due date and start date of the task and the priority of the task. There are 3 different Task Types: User-defined, Follow-up or Pathology. Task Priority has 3 different levels: Low, Normal and High and automatically defaults to Normal on creation.
The Detail section is for the creator of the task to add the task details in full for the assignee to understand the task. Also as tasks are kept as a permanent record, it is important to record enough information that anyone who reads the task at a later date can understand what was required. Once a task is saved these details can only be modified by the creator of the task.
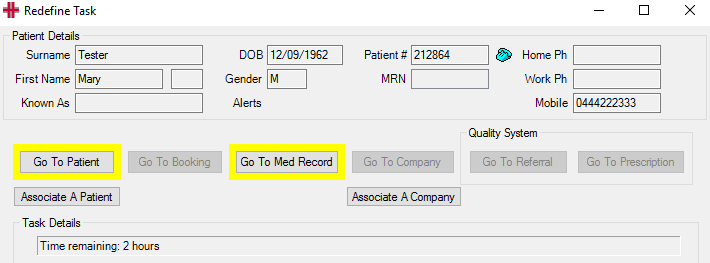
A task can be associated to a patient or a company by pressing
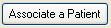 or
or
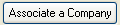 . This will bring up the Find
Patient screen or Find Company screen. If a task is associated to a
patient the task will appear in the patient’s Patient Management screen,
as well as on the assignee’s Task List.
. This will bring up the Find
Patient screen or Find Company screen. If a task is associated to a
patient the task will appear in the patient’s Patient Management screen,
as well as on the assignee’s Task List.
In the Assigned To section, the task creator assigns the task to a user
or a group of users. Clicking
 displays all of the User Names in the drop-down menu underneath for the
creator to select whom the task is for. While clicking on
displays all of the User Names in the drop-down menu underneath for the
creator to select whom the task is for. While clicking on
 displays all the group names in
the drop-down menu.
displays all the group names in
the drop-down menu.
The Ownership section shows who created the task and gives the creator the option to select who manages the task.
In this section there is an option to Redefine Task. This option is only
active for the creator of the task. Pressing
 enables the Detail section of the
task to be modified.
enables the Detail section of the
task to be modified.
Before saving a task the creator should also set the Current Status. Tasks should be set as Not Started, until the first action is recorded. Then the status can be changed to In Progress or Complete.
When creating a task from a patient’s booking or the Patient Management screen, the New Task screen will look slightly different from this task screen with the patient’s details displayed at the top of the screen.
Managing Tasks in the Patient Management Screen
When a task is associated to a patient it will appear in the patient’s Patient Management screen . This task screen has the same fields as a user’s Task List, but it only shows tasks associated to the patient. The list can be changed with the options in the View section on the right of the Tasks table e.g. view Overdue tasks or Completed tasks. To open an individual task, double click on the task in the table.
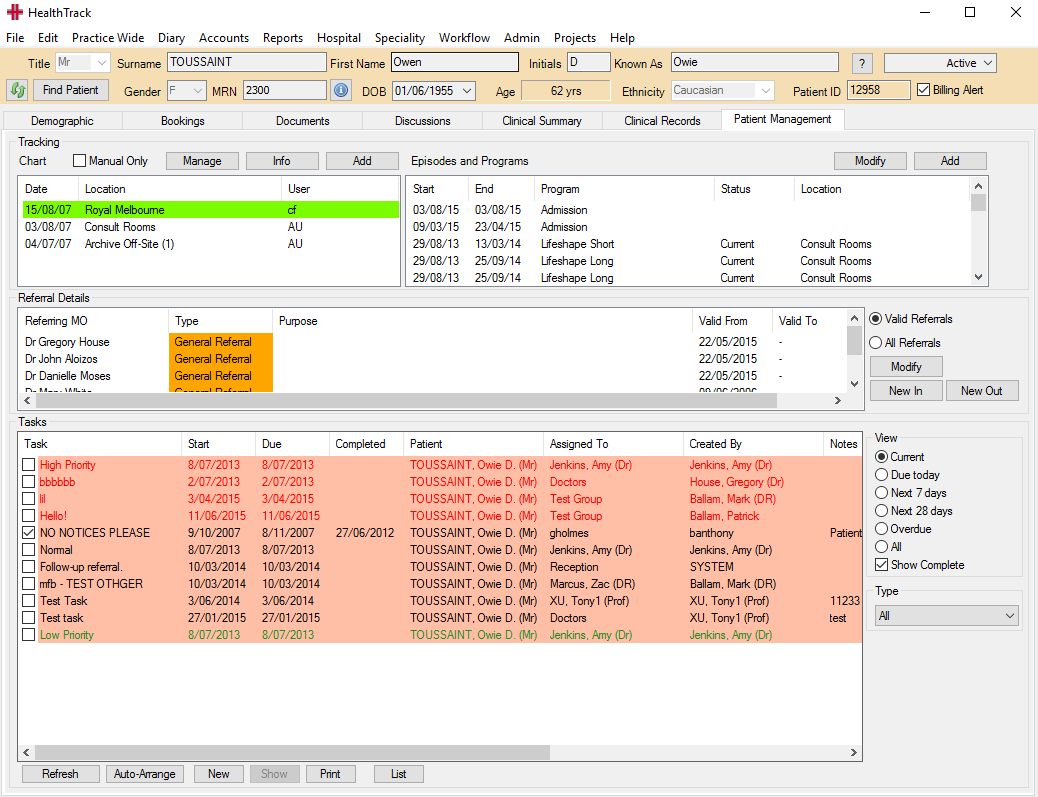
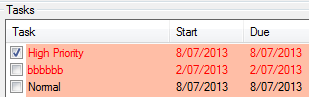
At the bottom of the screen the Auto-Arrange button changes the order of tasks in the table to show the highest priority tasks at the top. This is if any of the column headings have been clicked to change how the tasks are sorted in the table e.g. clicking the ‘Assigned To’ heading sorts tasks by user/group. When Auto-Arrange is clicked any tasks that have been completed will no longer show (assuming ‘Show Complete’ is unticked).
The New button opens the New Task screen to create a task for the patient. When a task is selected clicking the Show button opens the task window.
The Print button allows you to print a report of tasks for the patient and provides filters to display only the tasks required in the report. The List button opens your Task List in a separate window.
Printing Tasks
Users can print their own Task List or Individual Tasks using the Print button on the Task List or Edit Task screens respectively.
A report can also be printed for all tasks or for any specific user. This requires the Manager security permission of RedefineAnyTask.